Halo installation
Please Note: We are NO LONGER installing halos on new custom builds due to extreme reliability issues. This section has been kept in place for reference only.
Halos/Options Installations:
DO NOT INSTALL HALOS WITHOUT THEIR INLINE INVERTERS – THIS WILL DAMAGE AND VOID THEIR WARRANTY

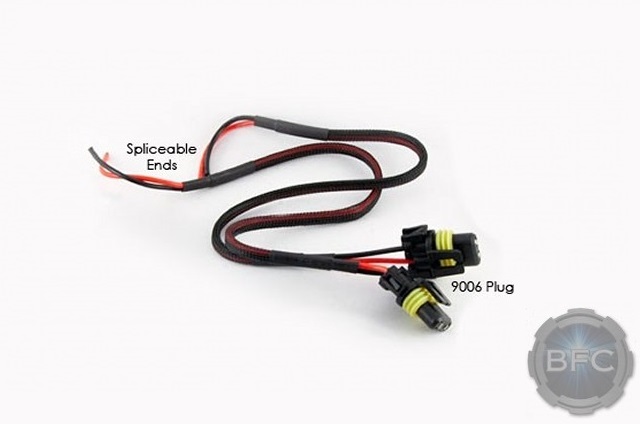
This is a straight forward process. The first step is to decide & locate which circuit you want the halos to turn on with. The most common selection is the parking light circuit. A test light or multi-meter may be needed to ensure you have selected the correct wire on the vehicles electrical harness you plan on tapping into. Next, strip back a 8-10mm portion of the wire backing on the vehicle harness. You will splice the RED wire for the halo power plug into this wire. Then, ground the BLACK wire to a good chassis ground on the halo wiring plug. Cover these wires with electrical tape or shrink tube as needed.
Last, the plug that was just tapped into the parking light circuit & chassis ground will correspond with the above noted 9006 Style Power Plug in the image. Test for proper functioning & continue the installation of your new headlight system.
If your vehicle headlights come with a wiring harness on them that then plugs into the vehicles main harness, we will pre-install your halo wiring for you. We most often set them up on the parking light circuit.
Posted in: Troubleshoot